

This is explanation about Unity installation for Windows. I am explaining how to install Unity editor for beginners. This article is for participants for a programming class, but many Unity beginners also can refer this.
(This explanation is targeting Unity2018.1. Already some new versions have been released, but the installation way is not so changed. If you need, you can select the latest version.)
[Overview of the operation steps]
- Download Unity installer
- Install Unity
- Open Unity
- Try to open a project
[How to install Unity]
1. Download Unity installer
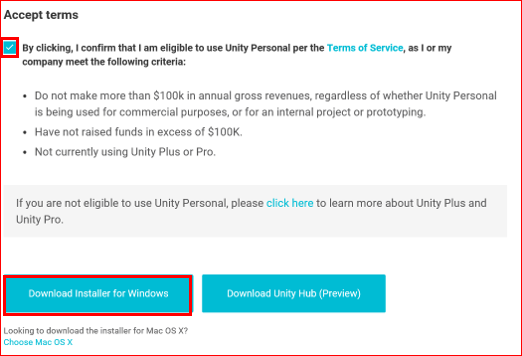
Connect to following Unity site.
[ https://store.unity.com/download?ref=personal ]
(This link is liking to the site of ‘Unity Personal’. There are also ‘Unity Plus’ and ’Unity Pro’ licenses, but only ‘Unity Personal’ is free license. ‘Unity Personal’ have almost all functions of Unity, but as the criteria is saying, depending the yearly sales amounts of the company, need to buy Plus or Pro. Therefore, for individual users to just try or study, ‘Unity Personal’ is available for free.)
Check ‘Accept terms’ flag, and click ‘Download Installer for Windows’ button.
2. Install Unity
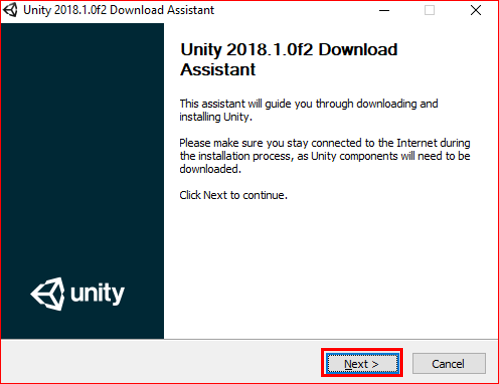
Double click installer file just now downloaded.

If a dialog box for user account control was appeared, click ‘Yes’.
Unity installer is opened. As written here, you need to connect to the Internet during the installing. Because the first downloading is included only installer, so from now many files will be downloaded.
(It is better to use the network that the velocity is fast, and not use pay-per-use line.)
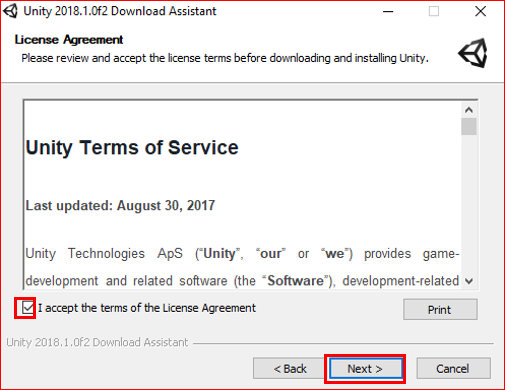
‘License Agreement’ screen will be opened, and check flag of ‘I accept the terms of the License Agreement’.
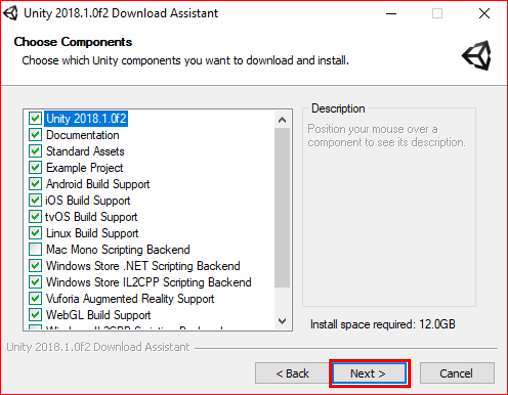
Select the component you need to install in ‘Choose Components’ screen. This time, I am proceeding with system recommended options without changing any options.
(Because you can also install necessary components later, it is ok to just chose 4 top components. However if you need to create app for smart phone, you need to install ‘Build Support for Android or iOS’.)
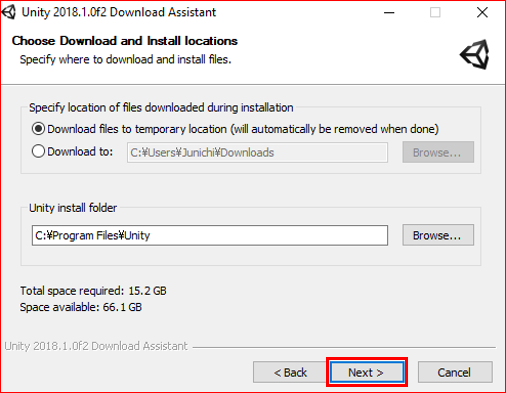
Chose a folder you want to install Unity files in ‘Choose Download and Install locations’ screen. Basically no need to change the system recommended folder.
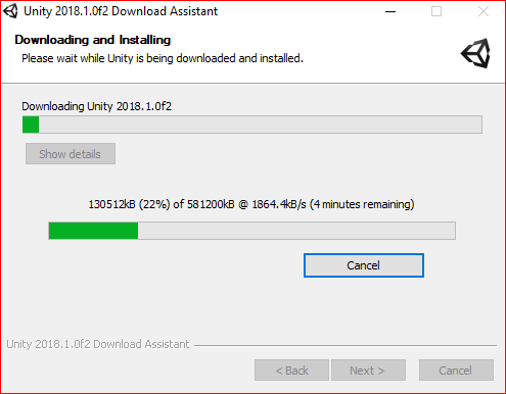
Started downloading and installing.
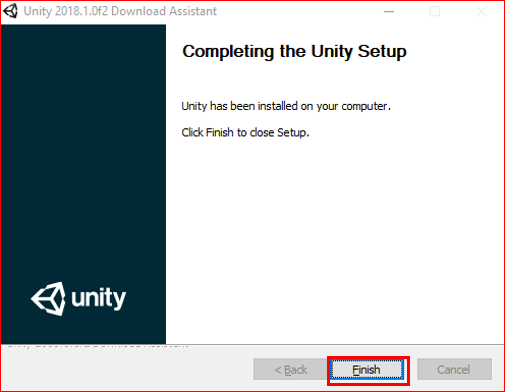
If this screen appeared, the installing is successfully finished.
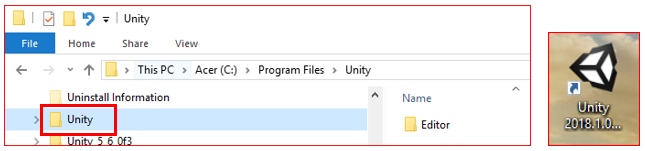
You can find Unity is successfully installed. The Unity files were installed in the folder ‘Program Files > Unity’. (The folder just now you selected.)
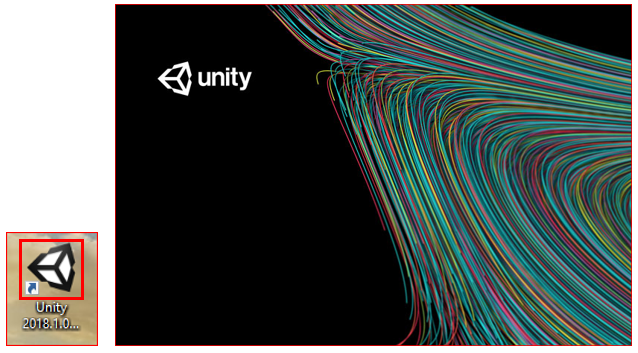
3. Open Unity
Let’s open Unity editor. Double click Unity icon.
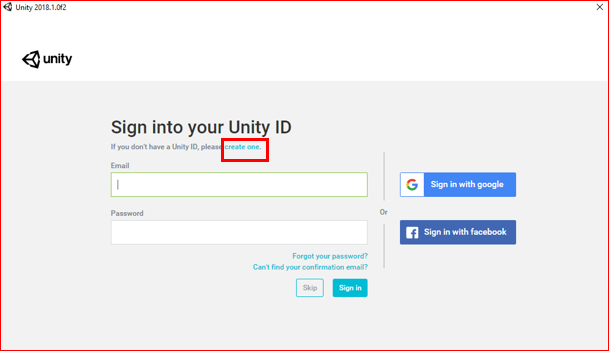
To use Unity, you need to register Unity ID. If you use Unity for the first time, need to create new Unity ID from ‘Create One’. (It is free.)
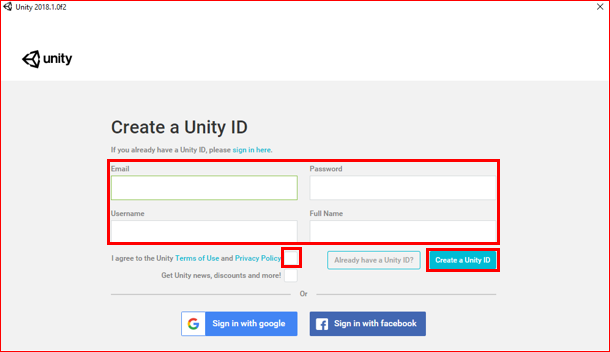
For registering new Unity ID, you need to input your E-mail address. Fill necessary columns, and click ‘Create a Unity ID’ button.
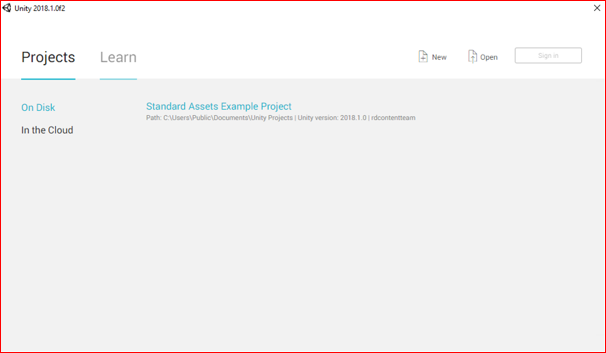
‘Projects’ screen will be appeared.
4. Try to open a project
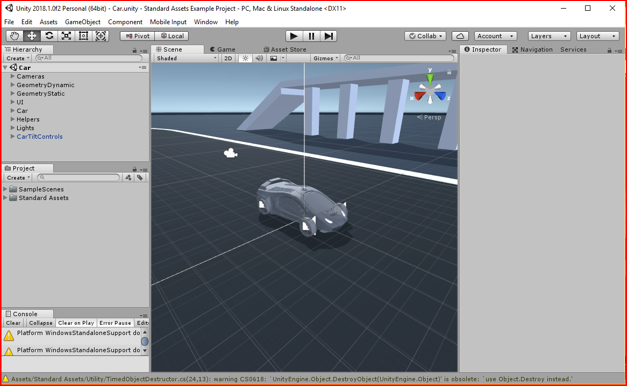
Select sample project by choosing ‘Standard Assets Example Project’, and try to check whether Unity Editor will be opened correctly.

Looks like Unity Editor correctly opened.
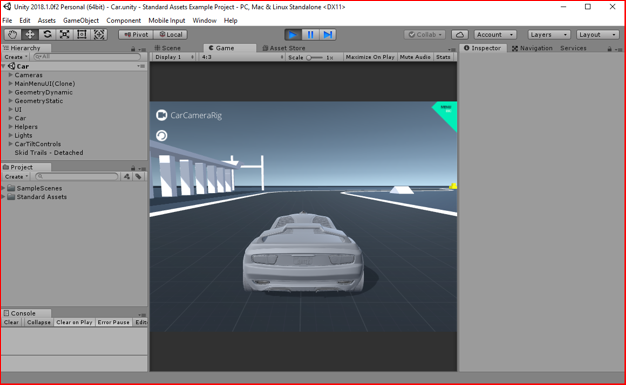
This sample project includes many kinds of games. You can try to test by clicking Game Start button.
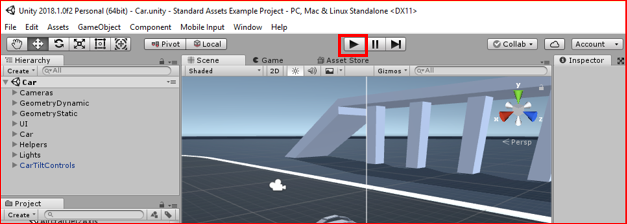
You can play those sample games by arrow keys normally.
I believe that you could install Unity without any problems. Then you can say that you got an environment to create your own game by yourself.
[Original Japanese Site: http://blog.lab7.biz/archives/11671870.html]